
How To Use?
Methods of orthopedic casting tape application.
Step 1: Prepare the Skin
The first step is to clean the area where the cast will be applied. Your doctor or cast technician can use soap and water to cleanse the skin and then can dry it off.
Step 2: Apply the Padding
The second step is to wrap the cast padding around the arm. The cast padding is there to provide a cushion between the limb and the fiberglass cast tape. It also helps to keep the limb comfortable during wear and reduces heat exposure from the cast saw.
To apply the padding, your doctor will unroll the padding over the limb, making sure to cover all exposed areas of the skin and stockinette. Once they have covered the limb, your clinician will cut off any excess padding and set it aside. They may do this a few times to add layers of padding.
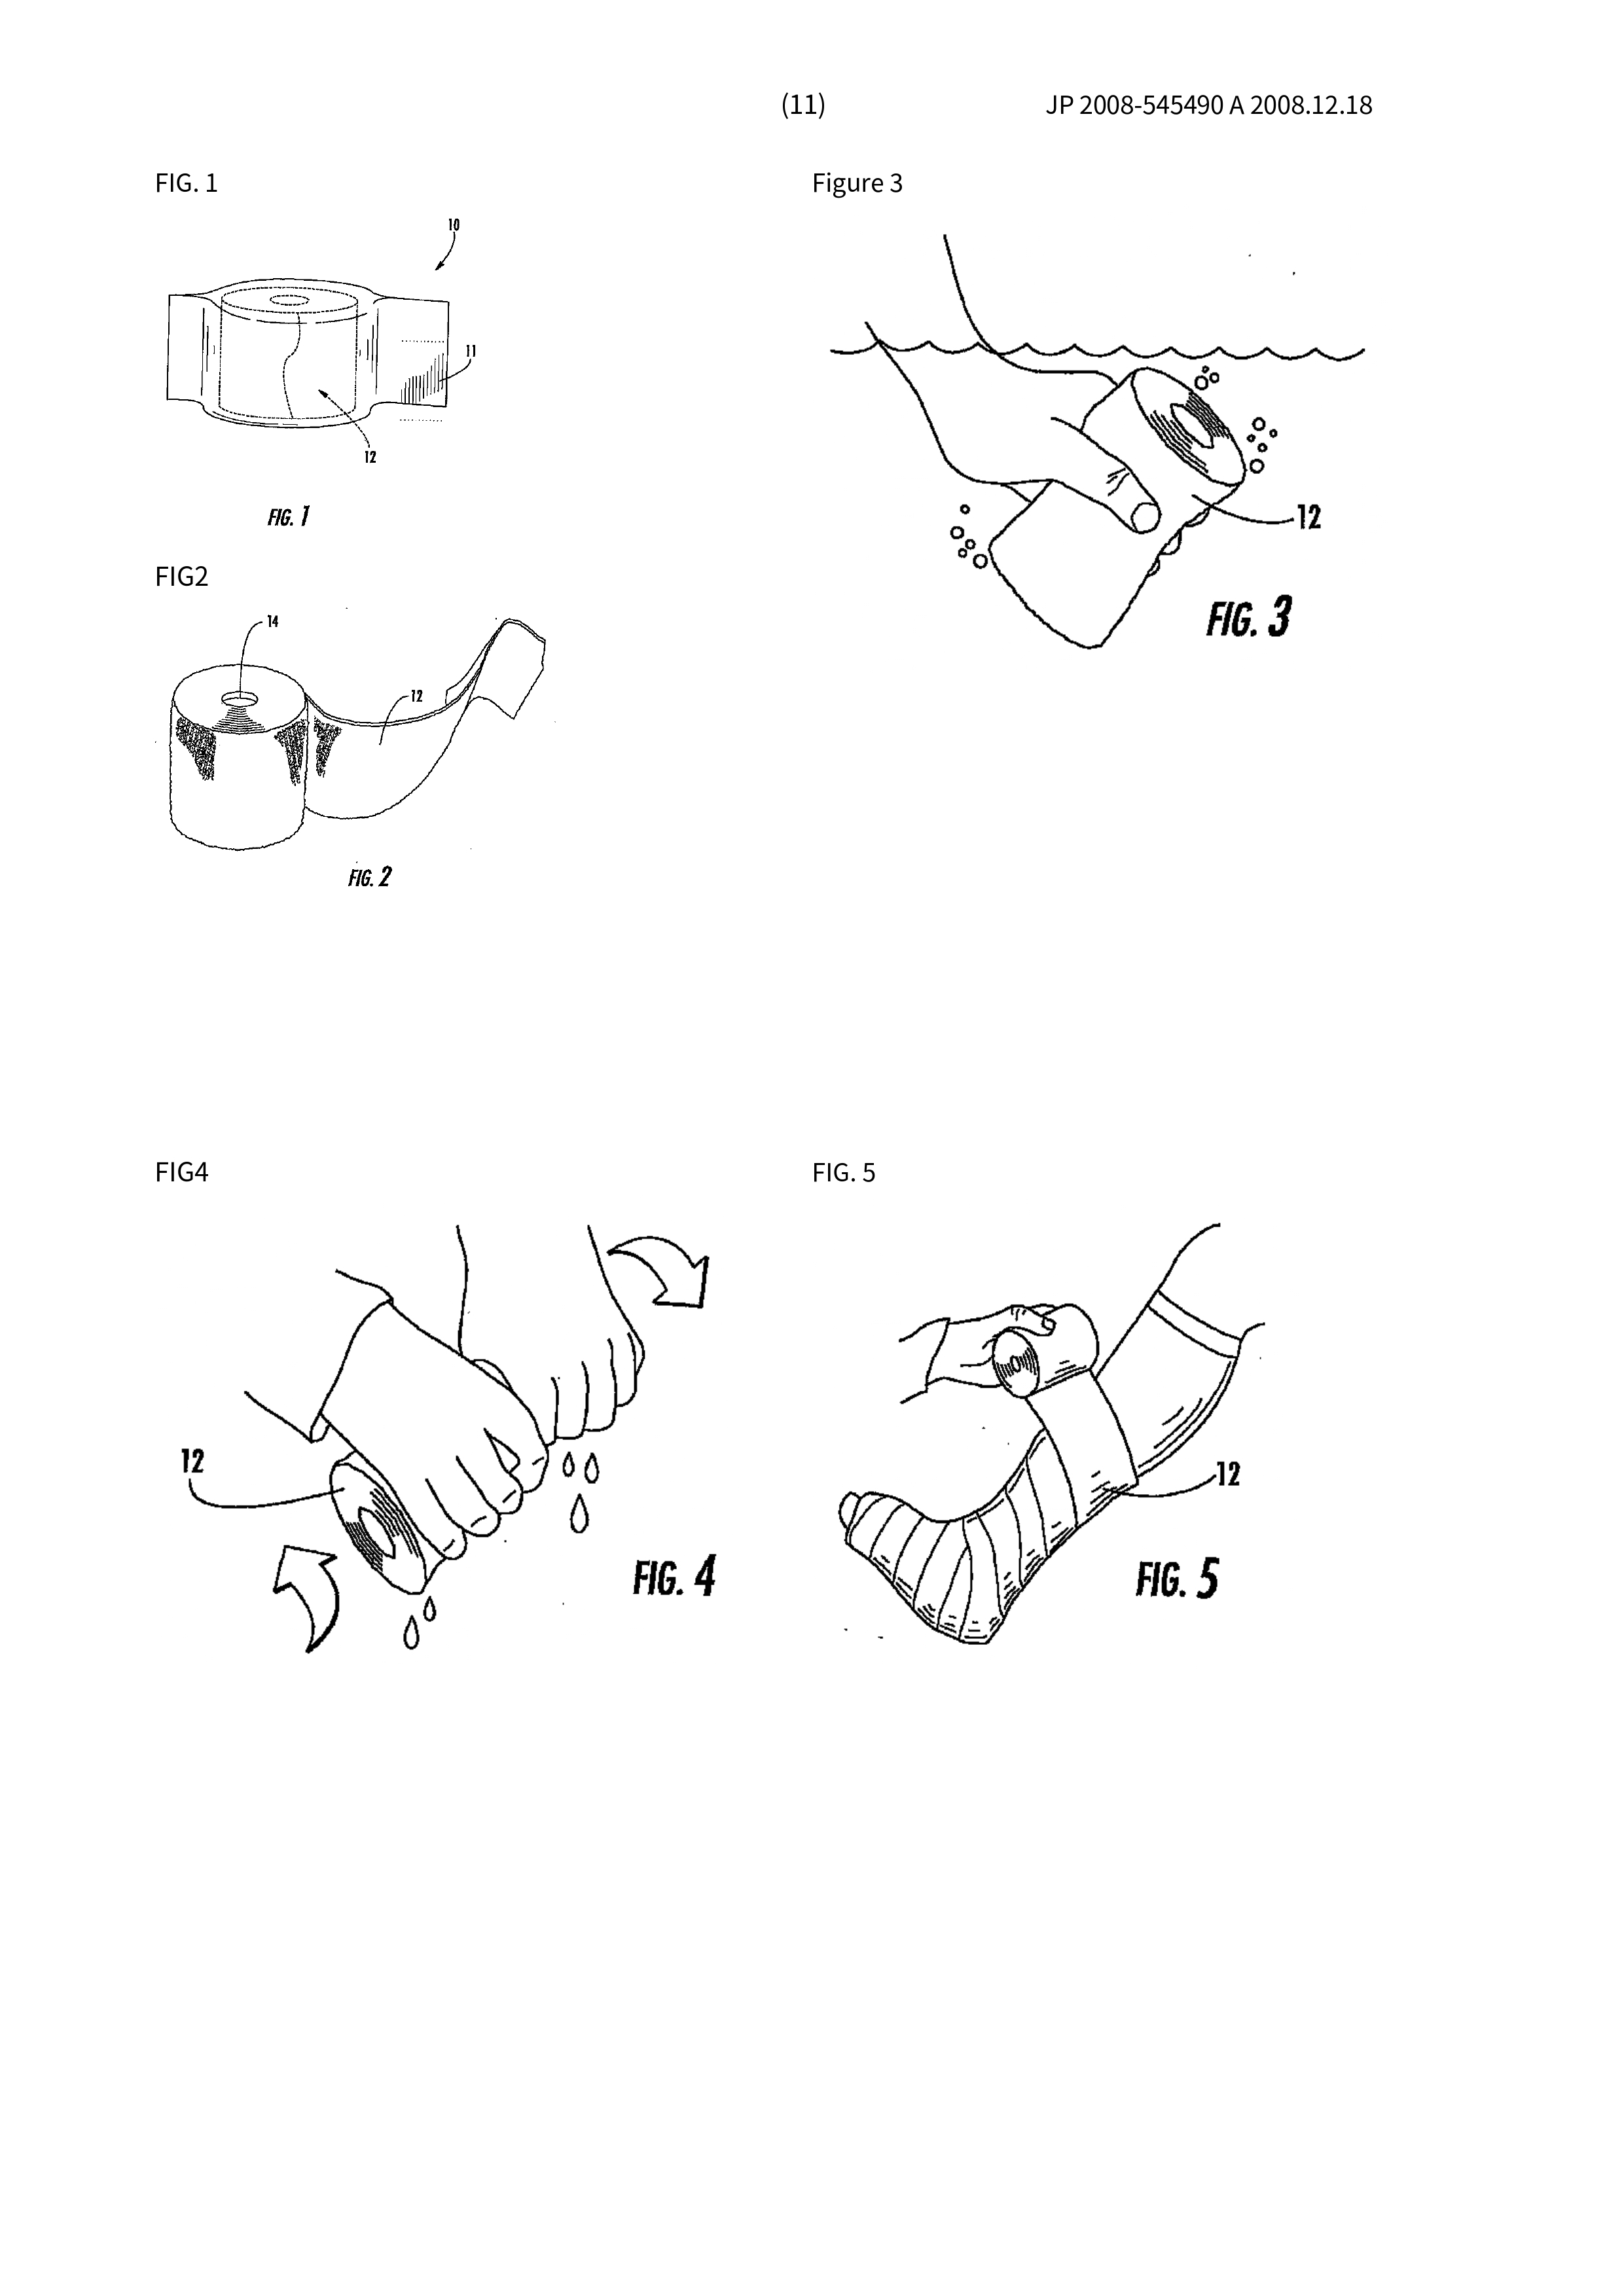
Step 3: Apply the Casting Tape
Clinician will unroll the casting tape and dip it in water or spray it with water so that it is saturated but not dripping wet. They will then wrap the casting tape around the limb, following the contours of the limb, smoothing down the edges of the tape with their fingers so that there are no sharp edges sticking up. Once they have reached the end of the roll, they can use scissors or cut off any excess tape.
